Angela shares her fall sewing plans, and how she makes sure they’ll actually get made and worn – with a little help from MyBodyModel!
Autumn is my favorite season, so I easily dream up outfits in rich jewel tones for crisp, sunny days. The challenge comes in transforming too many exciting ideas into just a few finished garments that I want to wear again and again.
There are a lot of factors that go into creating clothing you are happy with, but good planning is definitely one of them. Sketching outfit ideas with my MyBodyModel croquis has taken my planning process to the next level by helping me make design decisions, clarify my ideas, and commit to a sewing project.
But I don’t start sketching right away. Here is my step-by-step process to make sure I will sew the clothes I love, and wear the clothes I sew.
Fall Sewing Plans, Step by Step
Step 1: Audit My Closet
I like to think of my sewing plans as an ongoing conversation with the contents of my closet. What garments do I turn to over and over again? Why? How can I replicate those qualities in my future sewing projects? Do I have too many black shirts now? (yes) Do I need more pants that fit correctly? (also, always, yes!) My project planning is first grounded in my current wardrobe, so that any additions fill a necessary gap or complement the garments I already have with new wearing possibilities.
These practical limits might sound constraining, but I find that they give purpose and direction to the next steps – finding inspiration and deciding on specific sewing projects.
Step 2: Choose the Pattern & Fabric
Once I have a category of clothing in mind (long-sleeved work blouse, perhaps), I get very focused on the components of the project I’m planning: the pattern and the fabric. Sometimes I commit to a particular fabric and look for the perfect pattern; other times I decide on a pattern and search my stash for the right fabric. Always, I try to find a pairing of pattern and fabric that enhances both. Many people incorporate their croquis at this stage, but I don’t start sketching until after the pattern has been chosen.
Step 3: Sketch Design Ideas in Pencil First
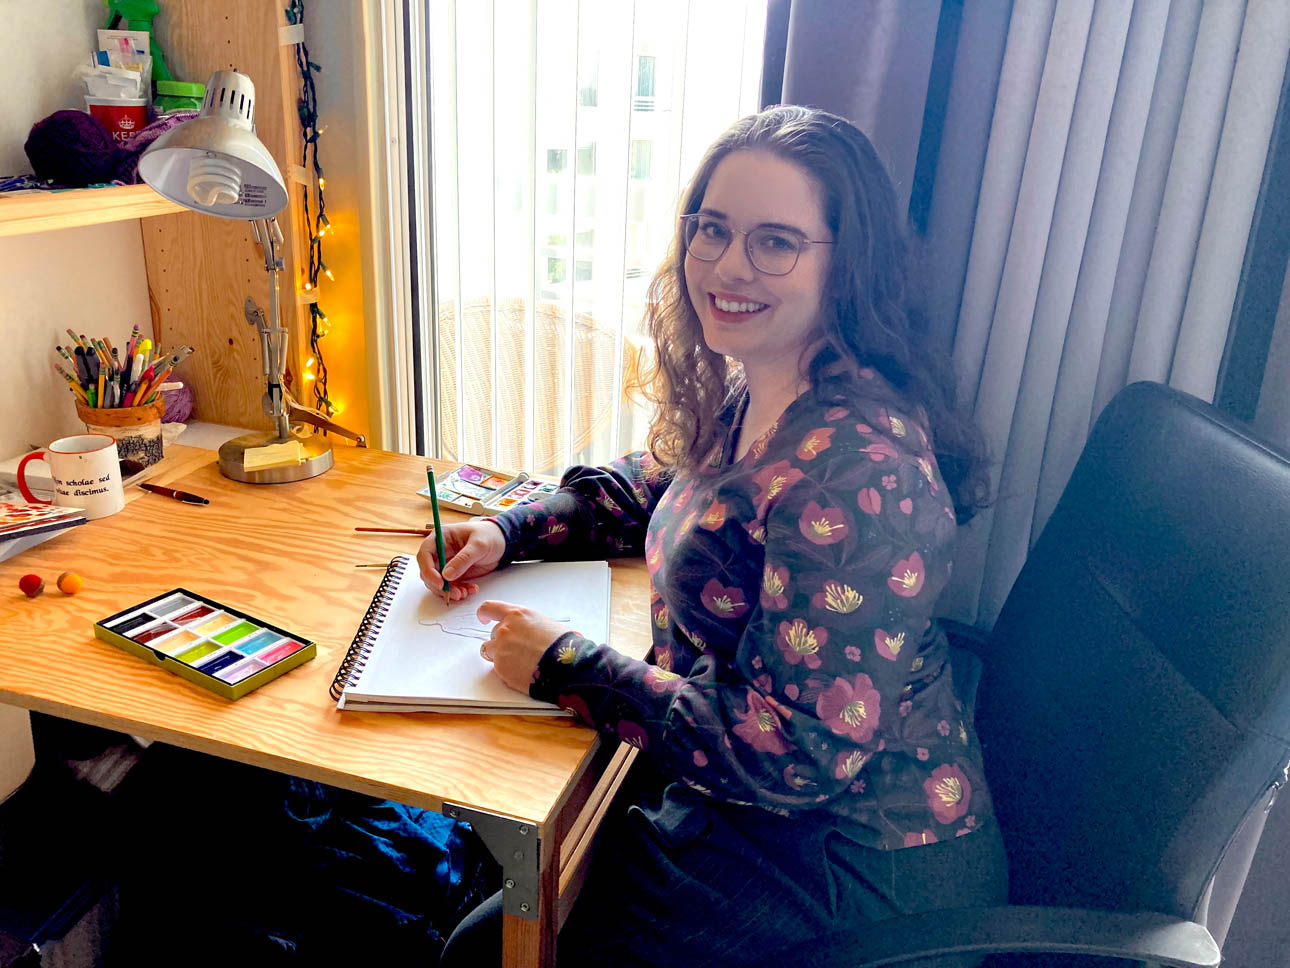
After I’ve decided on a pattern, I still need to figure out how I will customize it, which is when my croquis is invaluable! I have a cut-out of my My Body Model croquis that I trace around lightly in pencil onto good paper. Next, I draw in the basic design lines from the patterns I want to sew and adjust them to experiment with potential variations. Sketches allow me to try out different hem lengths and sleeve treatments or play with pattern hacks and pocket styles.
Step 4: Consider Versatility
Increasingly, I try to sew garments that will accommodate shifts in weight, either through different styling or simple alterations. Much of this depends on the initial pattern choice, but customization and pattern hacks play a part as well, which sketches help me sort through. Styles like wrap blouses and skirts are good options for a changing body shape, and a button-up shirt can be an outer or inner layer depending on how it fits. I have found that for my own body, the ability to adjust the fit at the waist with a bit of elastic or lacing goes a long way! As I make design decisions, the sketches help me to crystallize my competing ideas into a focused vision for the project.
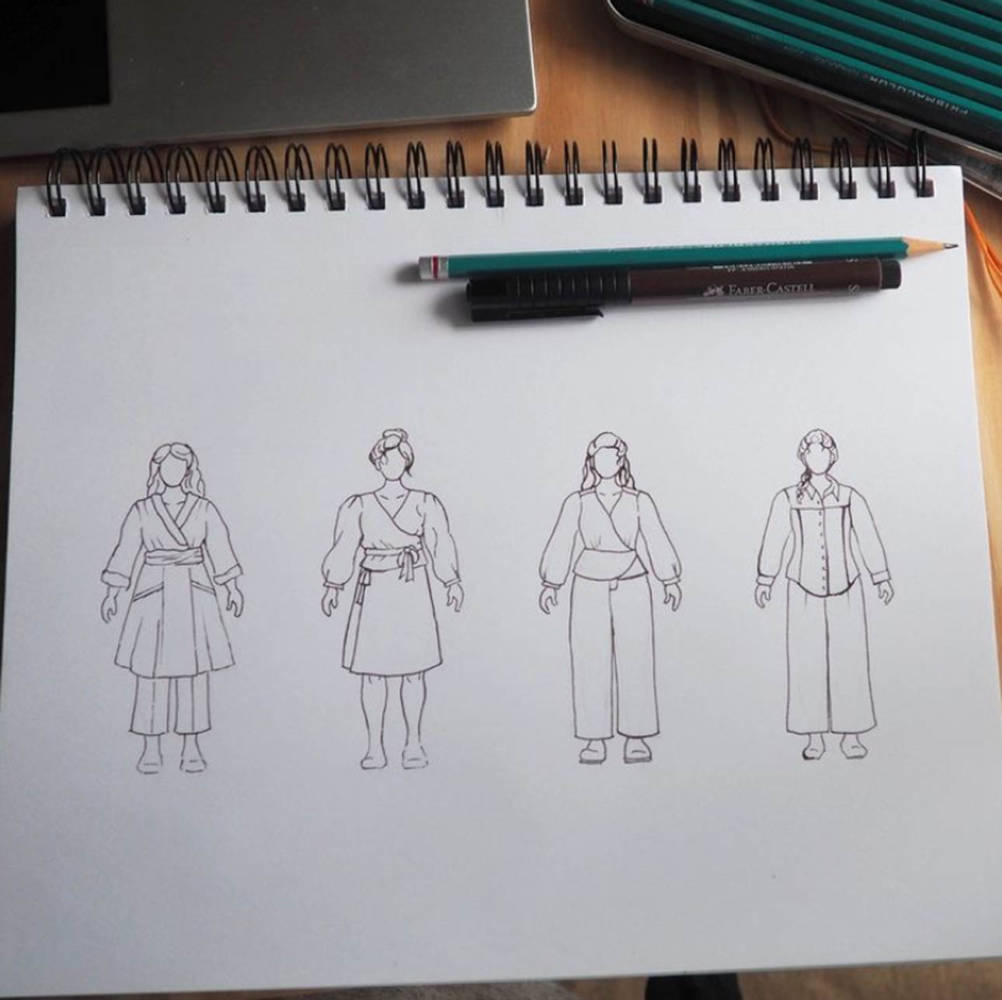
Step 5: Finalize the Details – in Pen!
Once the project details are firm, I go over the pencil lines with a Sakura Pigma Micron pen, which won’t bleed when I paint over the lines in watercolor. Most of the time, my planning sketches stay as black and white outlines until I finish sewing the clothing.
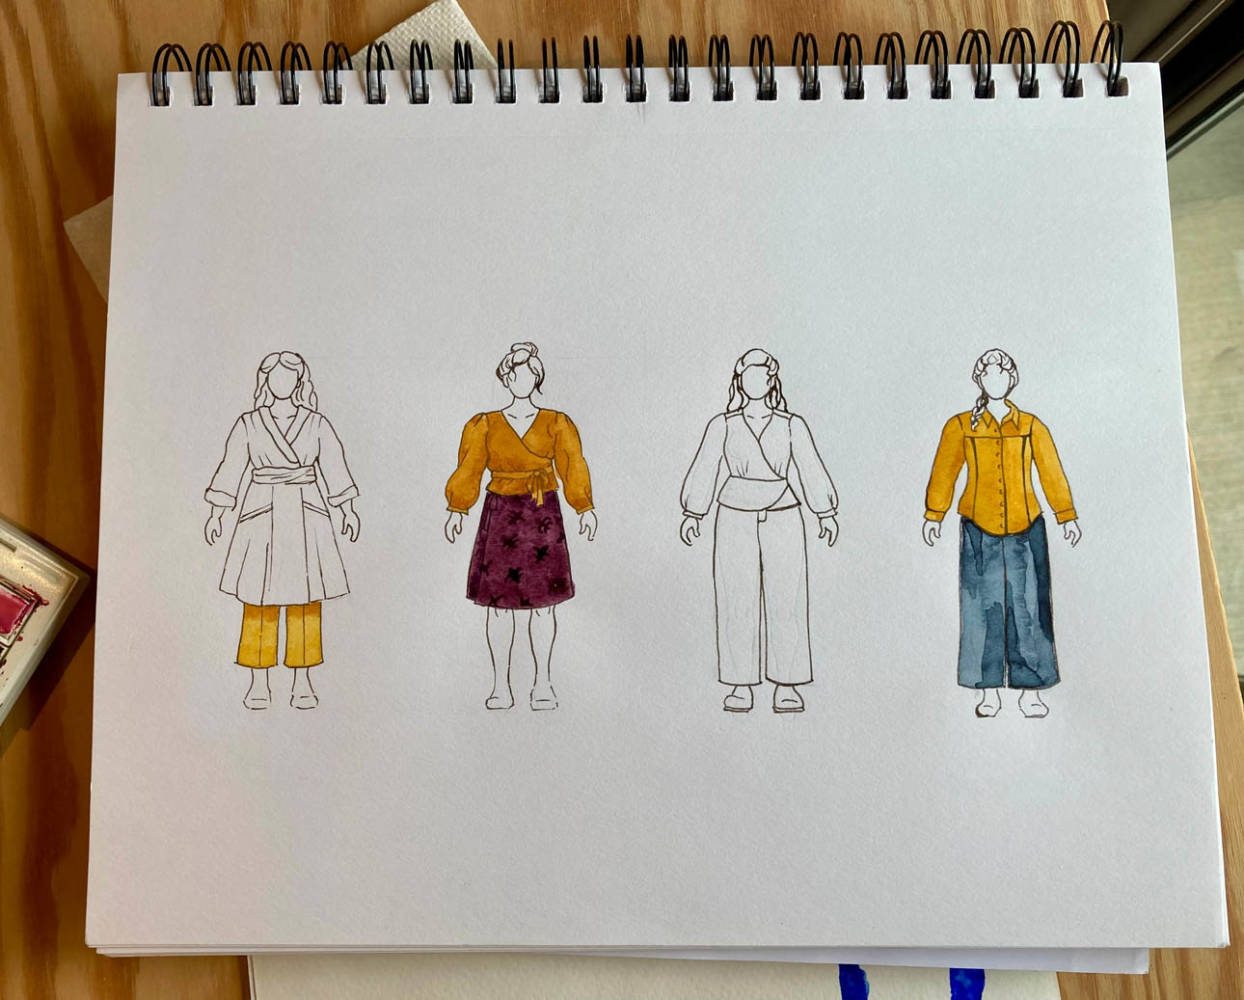
Step 6: Sew! (and Paint each Garment as it’s Finished)
The sketches are my custom coloring book To-Do List – seeing the unfinished outlines leaves me itching to finish the projects so I can paint in the colors! I’ve found that making a design sketch feels like a promise to the future garment; even when it takes longer than planned, I always finish the project . When I finish sewing a project, it’s so satisfying to finally be able to paint the sketch! I use a small travel set of Winsor & Newton Cotman watercolors.
When you make your own clothing, you can be a bit unreasonable about the expectations you set for your wardrobe – Why yes, I DO want a shirt that fits perfectly, coordinates with the rest of my clothing, suits work or the weekend, transcends seasons, and happens to be in my favorite color! No one would ever expect to walk into a store and find that kind of shirt, but if I’m going to invest the time and imagination into sewing my own clothing, I want to get pretty close.
My Sewing Plans for this Fall
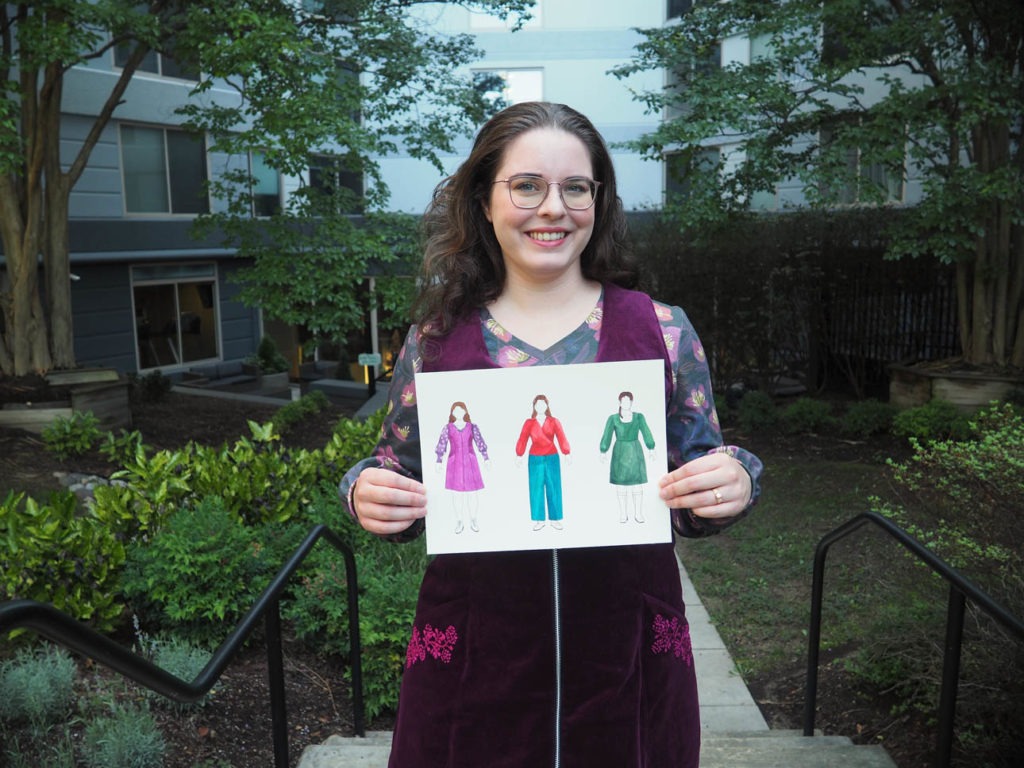
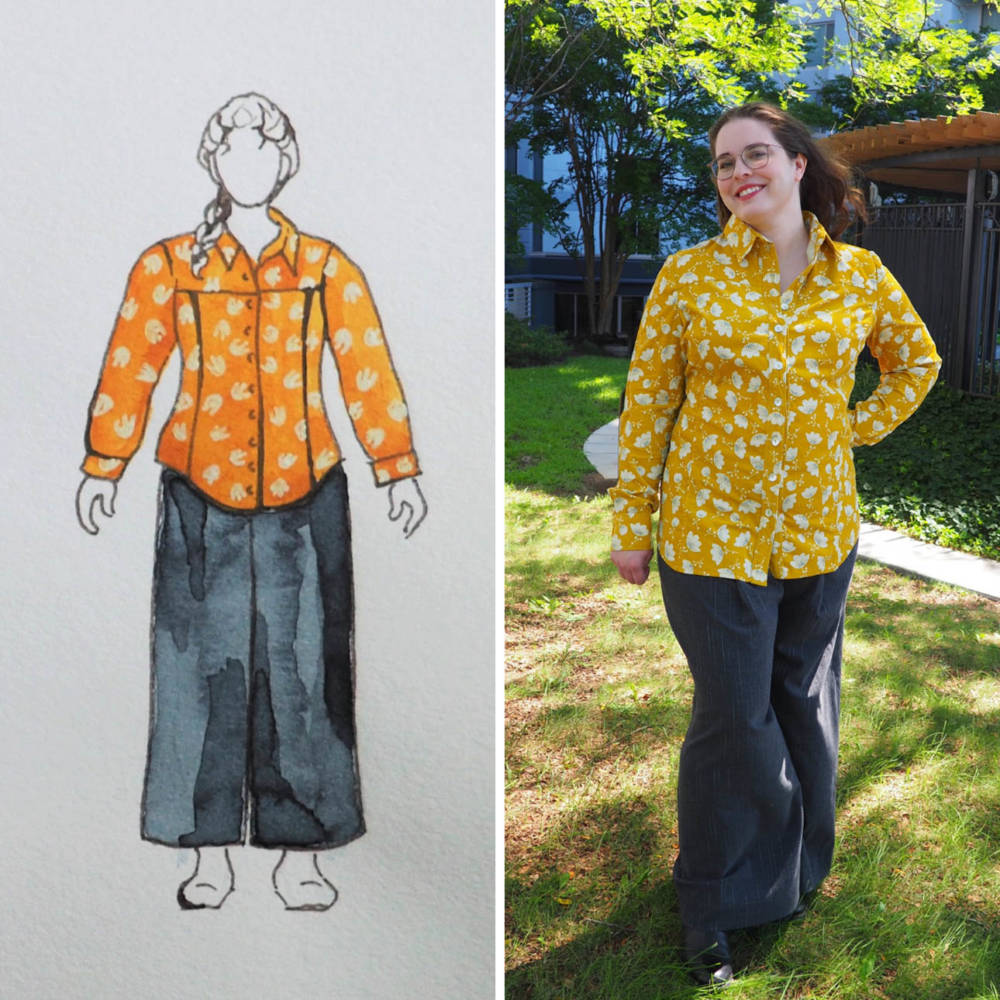
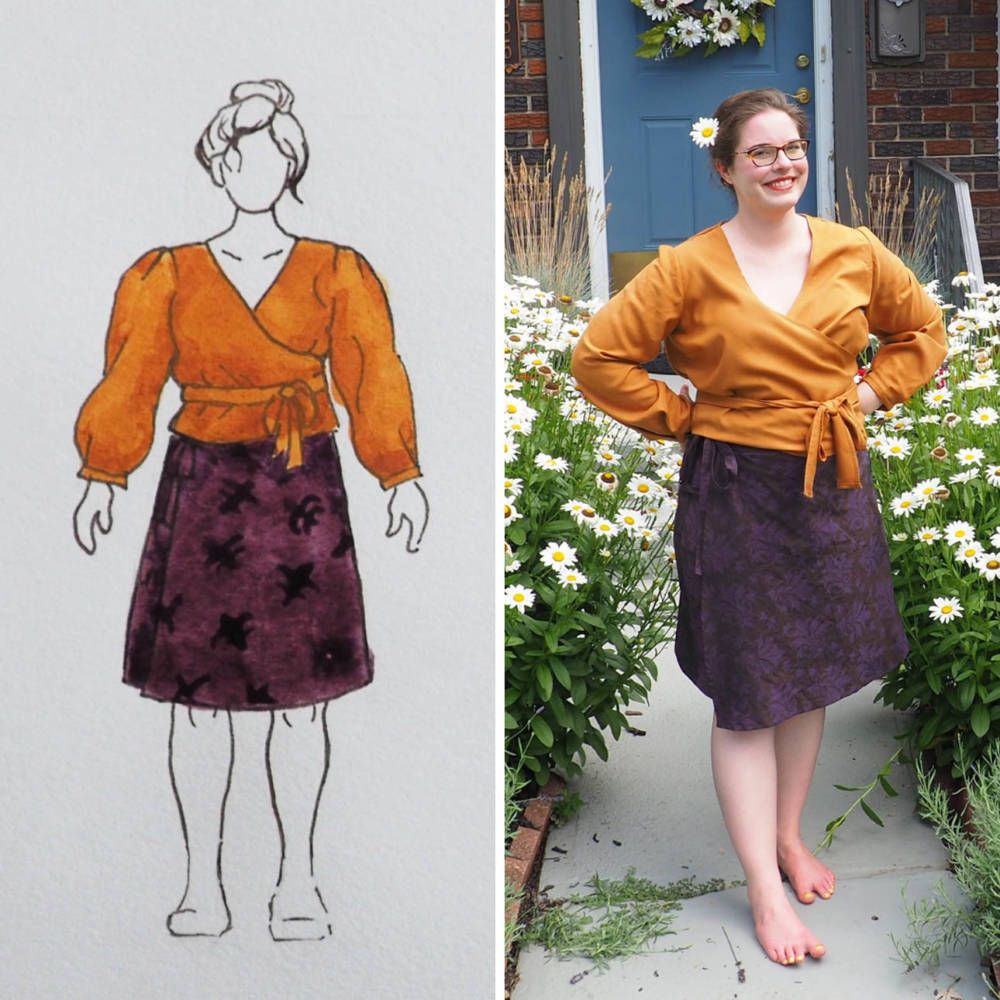
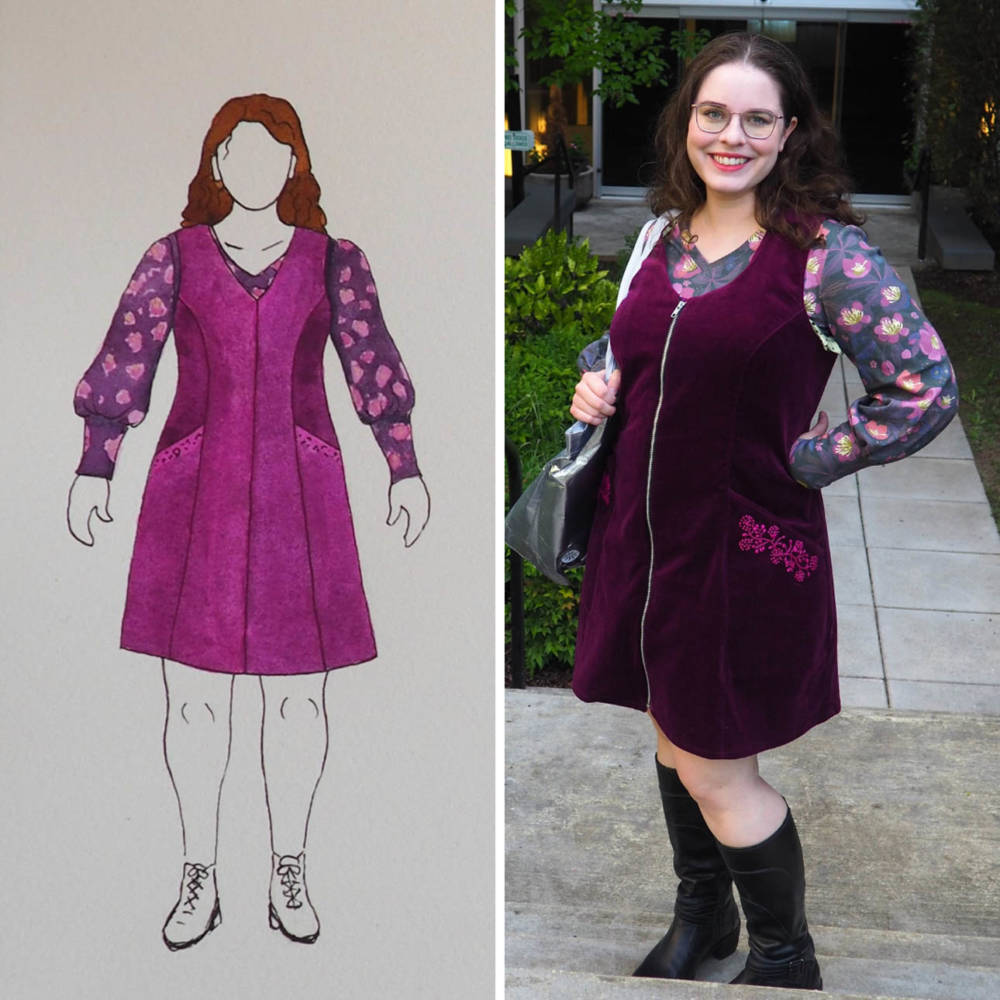
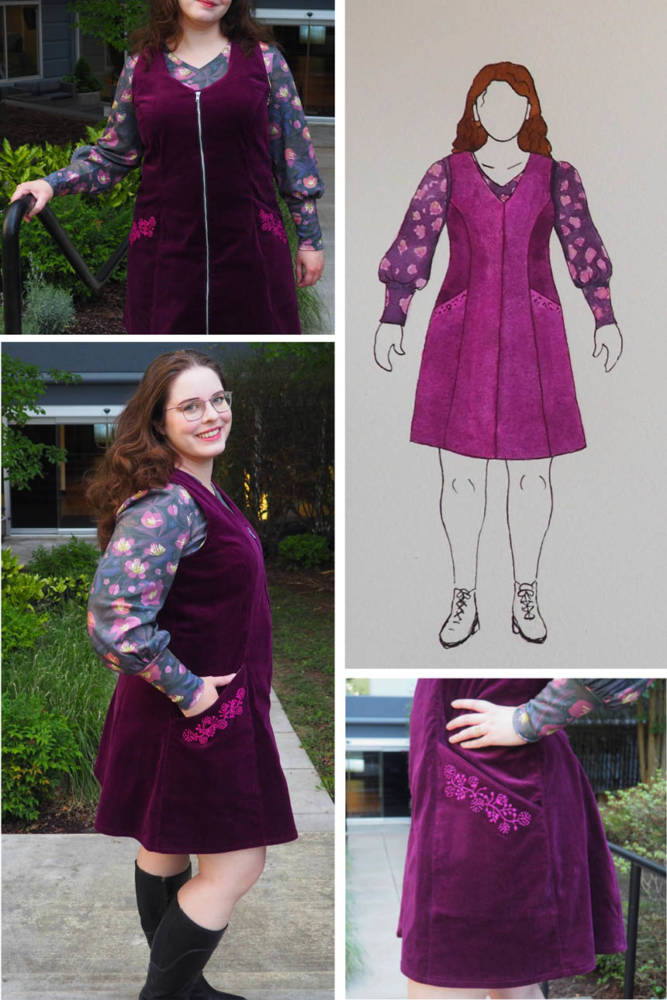
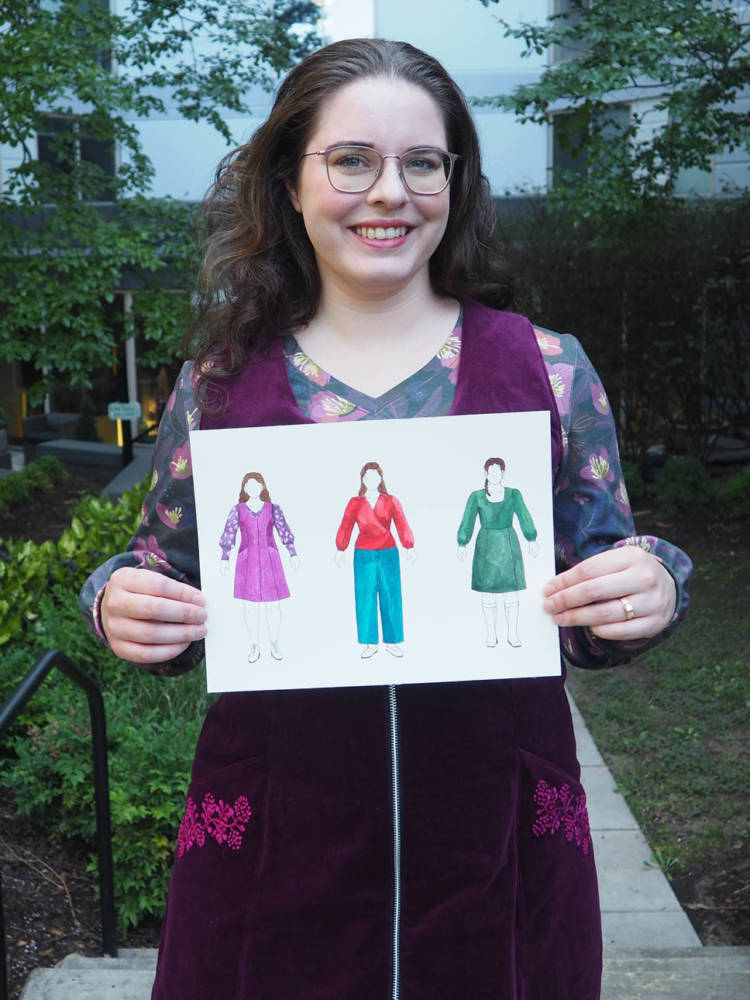
For this Fall, I plan to sew a pinafore, two blouses, a pair of pants, and a dress. I went ahead and painted my sketched plans for this blog post, so that you can better visualize what I have in mind.

The most elaborate garment is the velveteen pinafore made with the Peppermint Button-up Dress pattern modified for an exposed zipper closure and embroidered pockets. This project was in the works for months, and I am so excited to see it come together from sketch to life! I’ve layered the pinafore with a Vera Top in dark floral print knit, but the styling possibilities here will be endless.
I still have the Romy Wrap Top in a burnt orange Tencel twill and the Peppermint Wide-Leg Pants in teal corduroy left to sew, as well as a long sleeve Hughes Dress in a dark green linen.
Thanks to my intentional planning process, I know they will get done – and that they will get worn for many seasons to come!
Angela Geosits is a teacher and a maker living in the Washington, DC area. Angela learned to sew from her mother as a child but didn’t start sewing clothes for herself until grad school. Writing papers made her wrists hurt too much to knit, so she faced her fear of cutting out fabric and made sewing her preferred creative outlet. When she’s not sewing or painting, Angela teaches College Writing at American University. You can find more of her makes on Instagram @autumnyarn and read more about her sewing adventures on her blog.
2 thoughts on “Taking my Fall Sewing Plans to the Next Level”
What a fantastic blog post! I absolutely love the colors and garments you chose! You’re an inspiration!
What great suggestions – tracing your BodyModel cutout and then not coloring in the garment until it has been completed! 👍🏻👍🏻 Thanks for sharing!